Capturing On-Screen Content
When you record a meeting privately with the Groupthink desktop app, it captures what people say. On-screen content capture adds what people show, the figure on a dashboard, the number on a slide, the line item in a spreadsheet, so those details land in your notes and dossiers instead of disappearing when the call ends.
It runs entirely on your Mac. Groupthink reads the text off the window you choose, and only that text is sent to Groupthink. Images of your screen never leave your computer and are never stored.
What gets captured, and what doesn't
- You pick one window to capture. Groupthink reads only that window, not your full screen, and not any other app.
- Groupthink extracts the text visible in that window and adds it to your meeting. The screenshots themselves stay on your computer and are discarded once the text has been read.
- Captured content is saved with the meeting and shown under a Shown on screen section in the recap. It's private by default, the same as the rest of your private recording.
Before you start
On-screen content capture is available in the Groupthink desktop app for macOS. The first time you use it, you'll grant Screen Recording permission (steps below).
Capturing a window
- Start a private recording from a meeting in the desktop app, the way you normally do.
- In the meeting header, find the capture control labeled "Also capture a window, text only, stays on device" and click it.
- Choose the window you want to capture. Each option shows a thumbnail so you can confirm you've picked the right one. If you'd rather record audio only, choose Skip for audio only.
- Groupthink starts reading text from that window and adds it to the meeting as the content changes. The control updates to "Capturing: [window name]."
- To stop capturing the window without ending your recording, click the X on the capturing label. Your audio keeps recording.

The capture control sits in the meeting header, next to the Private and Local capture labels.
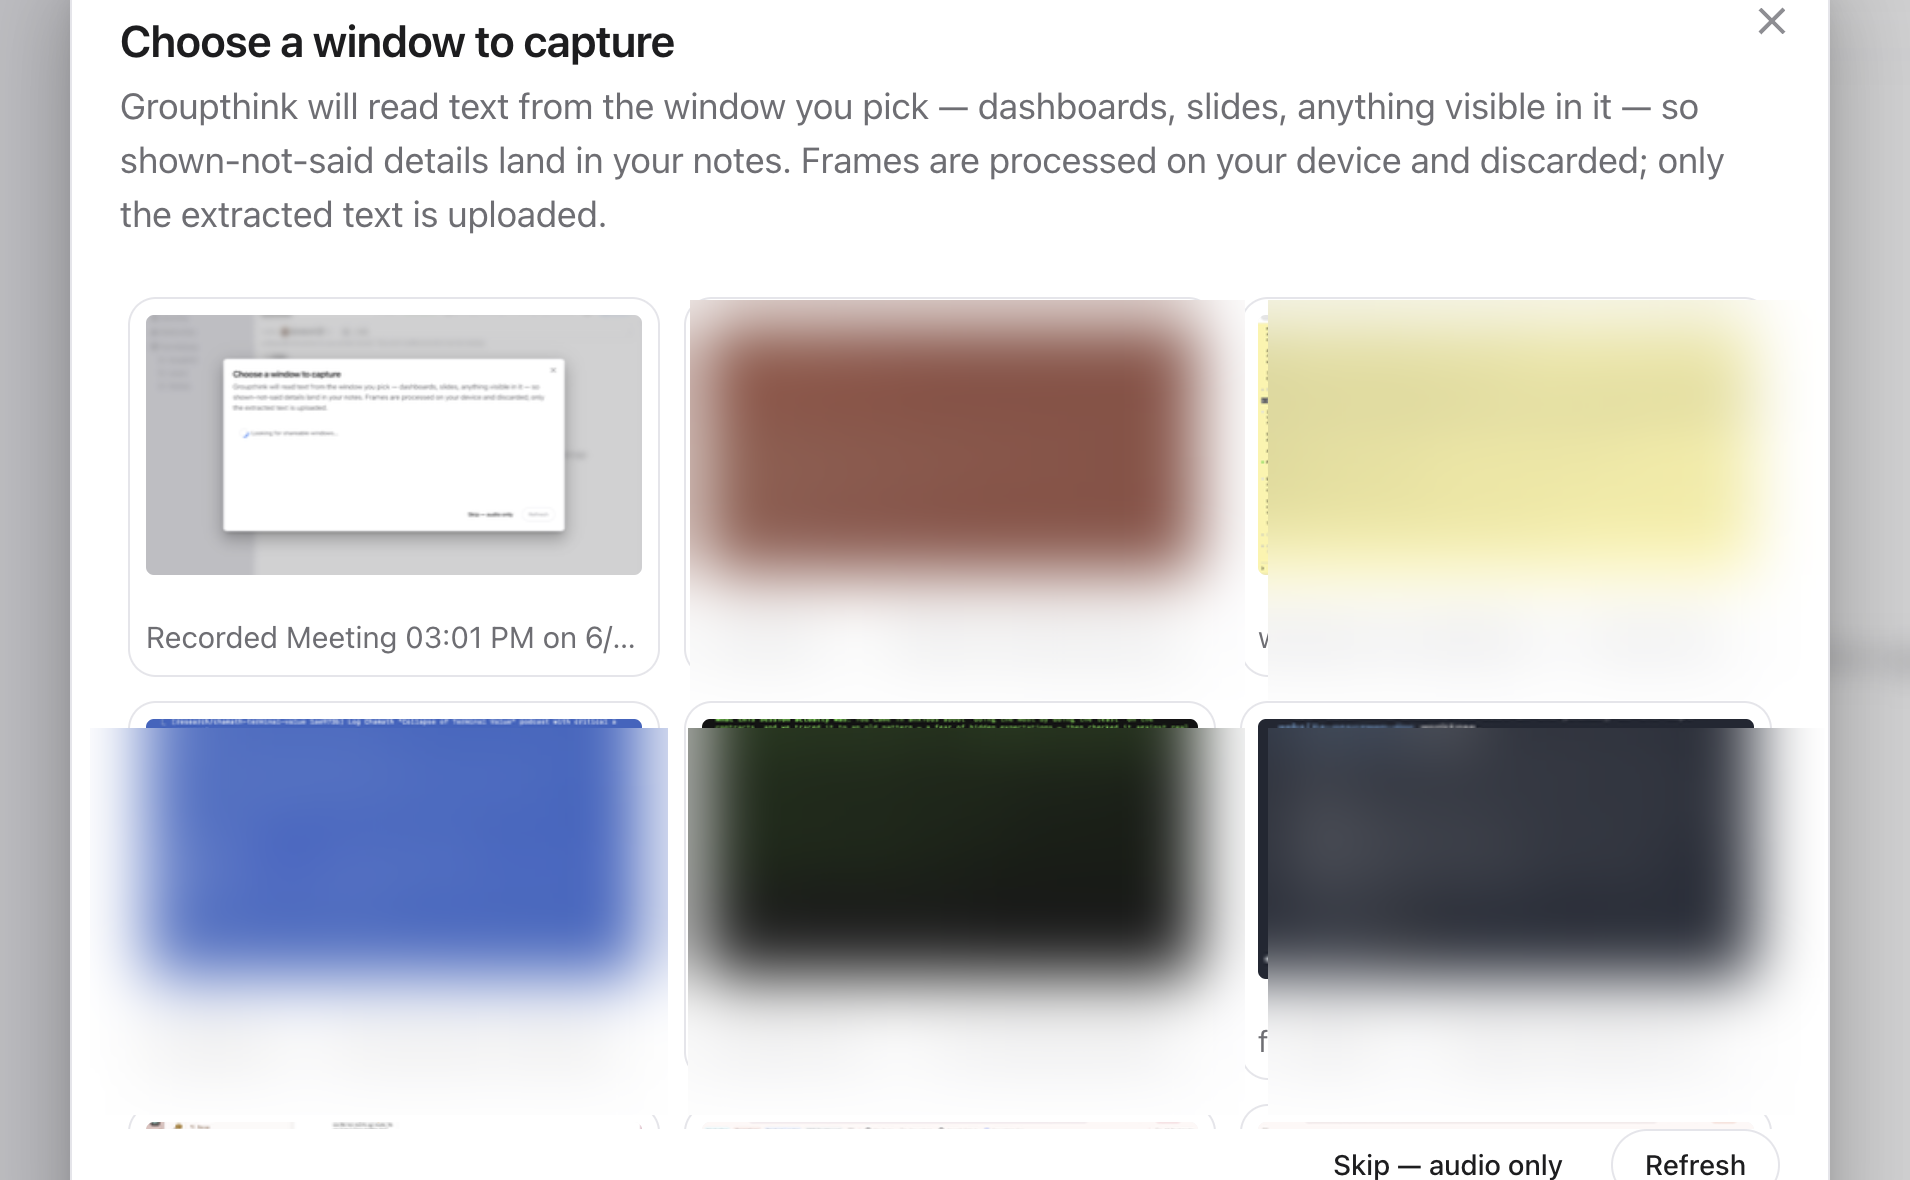
Pick the one window to read text from. Each option shows a thumbnail so you can confirm the right one.

Once capturing, the control shows the window name and an X to stop reading it without ending your recording.
Granting Screen Recording permission (macOS)
The first time you capture a window, macOS asks for Screen Recording permission:
- If the window list is empty or shows a permission message, click Open System Settings.
- Under Privacy & Security > Screen Recording, turn on Groupthink.
- Back in Groupthink, click Refresh to load your windows.
If your windows still don't appear, quit and reopen Groupthink so the permission takes effect, then start capturing again. macOS sometimes resets this permission after an app update, so if your window list is suddenly empty, re-check this setting.
Where captured content shows up
Text read from the window is added to the meeting alongside the transcript. In the recap, it appears under a Shown on screen section, labeled with the window it came from so you can tell it apart from what was said out loud. After the meeting, it also flows into the relationship dossiers for the people on the call. A shared dashboard or slide often holds the most concrete detail in a meeting, so this is usually where the specific numbers and names end up.
Availability
- macOS desktop app only. It isn't on the web app or the Windows desktop app yet.
- Full-screen capture isn't offered. Capture is scoped to a single window on purpose, so you stay in control of exactly what's read.